
How to Clean Your Cat’s Ears at Home
Last Updated on
Guest post from Clara Lou.
Although most cats have clean ears, they sometimes need our assistance in cleaning. Keep reading to learn how to clean your cat’s ears step-by-step.
Quick Navigation
- 1. When should you consider cleaning your cat’s ears?
- 2. How to clean your cat’s ears—step-by-step.
- 3. Cleaning your cat’s ears is easy as long as you know what to do.
When should you consider cleaning your cat’s ears?
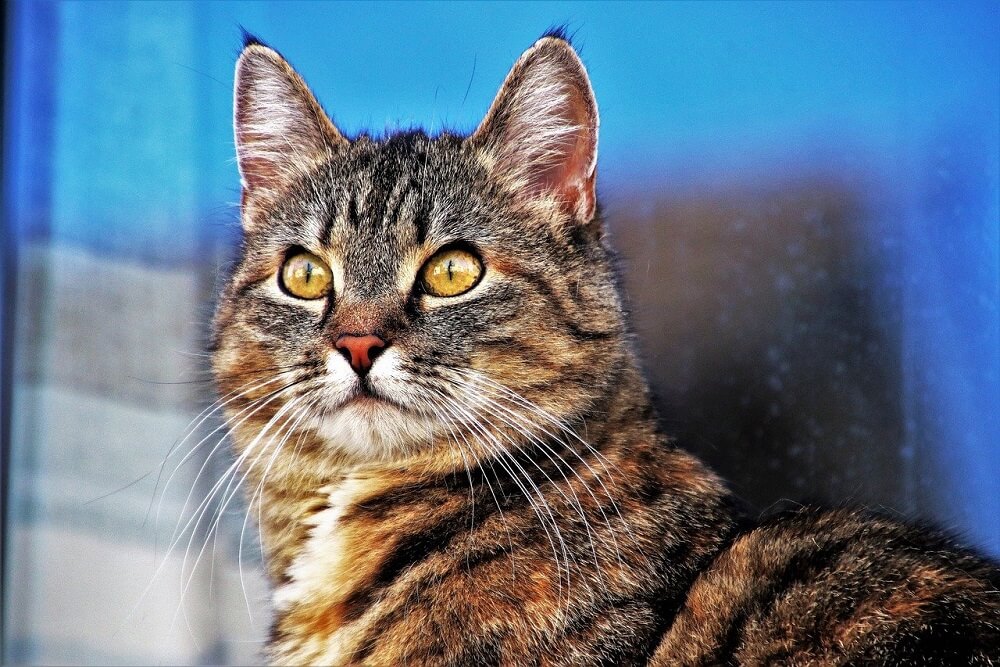
Cats who are kept strictly indoors require less ear care than cats who go outside. If your cat has any exposure to the outdoors, you need to be more watchful for parasites and dirt in their ears. A healthy cat’s ears look dull pink from inside and are visibly clean.
You don’t have to check your kitty’s ears every single day. A quick look into their ears at the time of their regular grooming sessions will suffice. If you see a few tiny flecks of dirt or mild waxy substance built up inside, it’s time to clean your cat’s ears. Unclean ears can lead to various ear infections and create favorable conditions for parasite infestation in ears.
In addition to buildup, here are some more signs that your cat’s ears might be in need of TLC.
- Bald patches or scaly skin around the ears
- Yellow or green colored pus
- Unusual ear odor
- Excessive pawing and shaking head
- Tender ears
- Dark-colored discharge from ears
- Excessive ear wax with a pungent smell
If you notice one or multiple signs indicating an ear problem, consult your vet. While many ear issues can be treated at home, it may be difficult to clean your cat’s ears at home if they’re in pain. A vet can also help you determine if your cat’s ear dirt is caused by mites and recommend products to eliminate the mites.
How to clean your cat’s ears—step-by-step.
Now that we’ve talked about some of the reasons why you might want to clean your cat’s ears, let’s go over the process. In the following step-by-step guide, you’ll get all the details on how the ear cleaning process works. You’ll learn how to identify the right time to approach your cat for cleaning, which supplies you’ll need, and what not to do when cleaning your cat’s ears.
So let’s jump into it.
Obtain cat ear-cleaning supplies.
Before you do anything else, you’ll want to gather your cleaning supplies.
You’ll need:
- An ear cleaning solution
- Cotton-balls or gauze
- Towel
- Treats
You’ll probably have most of these supplies around your house, but choosing an ear cleaning solution requires a bit more thought. Do not use an ear cleaning solution meant for humans. They contain alcohol that may be harmful to cats.
The appropriate cleaning solution will depend on your cat’s unique situation. Ear mites, for example, require a different treatment than does a yeast infection. Before you waste your money on the wrong treatment, obtain a diagnosis and ask your vet to recommend the most suitable ear cleaner for your cat.
Ensure that the ear cleaning solution is at room temperature before you use it. You can warm it up by rolling the bottle between your palms. Cats do not like the cold drops entering their ears.
How to approach your cat for cleaning.
The best time to clean your cat’s ears is when he’s sleepy or in the mood for petting and attention. At this time, look into his ears, decide whether the cleaning is needed, and start cleaning. On the other hand, if you approach your cat when he is playful, he may not let you touch his ears and inspect properly. You might end up being playfully scratched or bitten instead.
If you’re not sure your cat will retaliate or not, use a towel to cover him (like a ‘purrito’) and do the job. This will save you from your pet’s scratches.
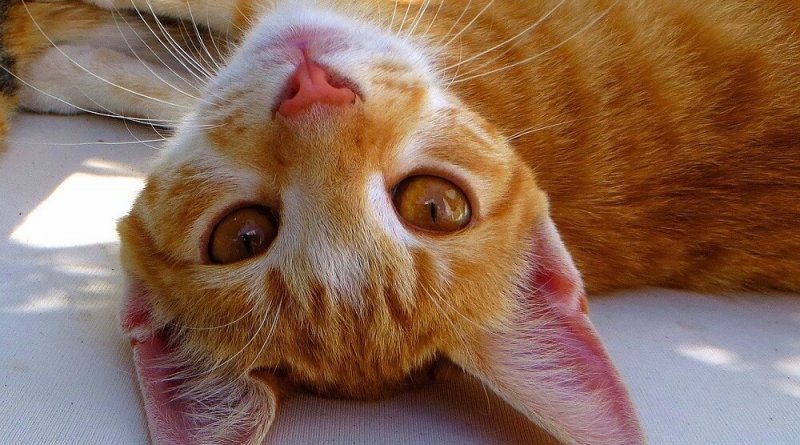
Simply hold the ear flap (pinna) and turn it inside out so that you can look inside of your cat’s ears. Use a flashlight if the room is dark and no direct light or bright sunlight is available. Check the other ear the same way.
Now that you have a clear sight of his ears, you can decide whether you need to see a vet or clean it by yourself. If the ears seem quite clean, there’s definitely no need to follow the further steps.
Ask a friend to help if possible.
Some felines don’t like their ears to be cleaned. You may need someone who is readily available to help you hold your cat while you clean his ears.
Choose a time when your cat is pretty relaxed and take him to a quiet room, making sure no other pets are present. The person helping you shouldn’t hold the cat too firmly. A tight grip can make your cat claw and bite to escape.
As I mentioned earlier, if your cat retaliates, you can make a ‘purrito’ using a towel (cover him up with a towel that looks like a burrito). If your cat still doesn’t cooperate, stop right there as you can harm him during the process or vice versa.
Once you’ve set everything up, it’s time to clean your cat’s ears. Here’s how to do it.
Once you’re good to go, hold the pinna and administer the cleaning solution in the ear in the prescribed amount. The purpose of an ear-cleaning solution is to flood the ear canal, soften the debris, and let the cat shake out the solution along with debris.
Please make sure the tip of the solution bottle doesn’t touch the ear. And if it does, clean off the tip using a cotton ball dipped in rubbing alcohol.
After administering the cleaning solution, hold the pinna and massage the base of your cat’s ears for about a minute. Meantime, the cleaning solution will do its work of loosening up the debris. Let your cat shake the solution off of his ear then.
Now, use gauze or a cotton ball and try to soak up the excess liquid stuck on and inside of the ear. Keep in mind that you shouldn’t put excessive pressure while cleaning off the remaining dirt or solution. Offer your cat’s favorite treats and repeat the same procedure with another ear.
Don’t use cotton swabs or Q-tips to clean the dirt. A cat’s ear canal is deep and using a cotton swab can push the debris deep inside your cat’s ear instead of getting it out.
Be patient!
However, some cats don’t like the idea of getting their ears cleaned and you may not be able to clean your cat’s ears on the first attempt. Similarly, your cat may not allow you to clean his ears in one go. One ear at a time works, too. If your cat starts wriggling and seems very uncomfortable, feel free to stop and try again tomorrow.
In the meantime, you should make your cat comfortable with their ears being handled. Gradually acclimate your cat to having his ears handled by petting and folding the ears while giving him his favorite treats.
If you have any questions or want to share your experience with us and our readers, please let us know in the comment section below!
>> Shop cat ear cleaners on Chewy.com <<
Disclaimer: If you make a purchase through the link above, we’ll receive a small commission, but it won’t cost you any extra. Thank you!
Did you find this post useful? Pin it for later!

Related Posts
-

 How to Train Your Cat to Walk on a Leash
 -
 Is Cat Food From Thailand Safe?
 -
 Apple Cider Vinegar for Cats: Cat UTI Home Remedy
 -
 Can Cats Eat Chocolate? A Pet Safety Expert Explains
 -
 Cats and Fireworks: Tips for Keeping Your Cat Calm During Fireworks
 -
 The Best Cat Litter in the World: 11 Best Cat Litters of 2020